Introduction
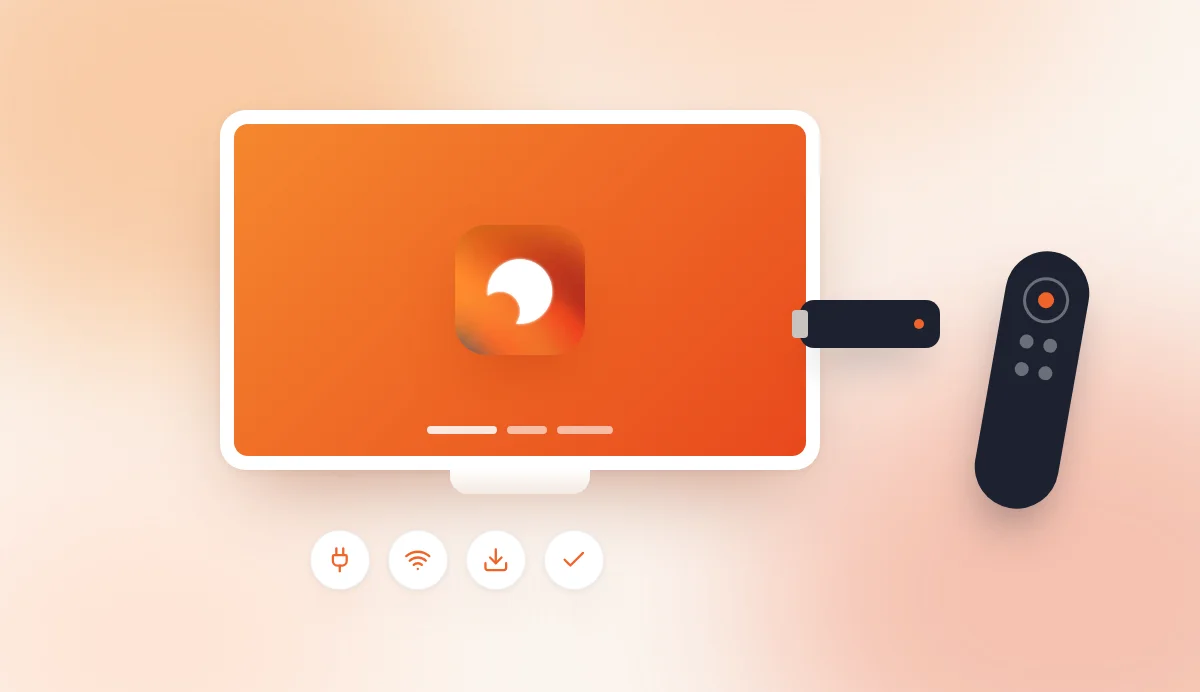
Do you have a standard TV with an HDMI port that isn't "smart"? Don't worry. The simplest and most affordable way to run Fire TV Stick digital signage with AtmoScreen is to use an Amazon Fire TV Stick.
Once plugged in, this small device turns any monitor into a powerful, cloud-managed digital signage platform.
What you need
- An Amazon Fire TV Stick (Lite, 4K or Max).
- A free HDMI port on your screen.
- A stable Wi-Fi connection.
Step-by-step installation guide
1. Set up the Fire TV Stick Plug the stick into your TV and follow Amazon's initial setup. Make sure you are signed in to your Amazon account and connected to your practice's or company's Wi-Fi network.
2. Find the app On the Fire TV Stick home screen, select the magnifying glass (Search) and type "AtmoScreen". Select the app from the list and click "Get" or "Download".
3. First launch and pairing Open the app. A unique 6-character pairing code will appear on your TV.
Tip: If the code doesn't appear, check that your Fire TV Stick is connected to the internet.
4. Link it to your dashboard Go to app.atmoscreen.com on your computer. Open the "My screens" section, click "Add a screen" and enter the code shown on the TV.
Optimising your Fire TV Stick digital signage setup
For your screen to run smoothly on its own, we recommend that you:
- Turn off automatic sleep in the Fire TV Stick settings.
- Enable AtmoScreen to launch automatically when the device starts up.
- Power the Fire TV Stick from a mains socket (rather than the TV's USB port) for better stability.
Conclusion
Installing AtmoScreen on a Fire TV Stick is our users' favourite method thanks to its reliability and low cost. In under 5 minutes, your screen is ready to display your custom content!